Bottom of the Bore: The Counterbore Check That Decides a Wet-Liner Rebuild
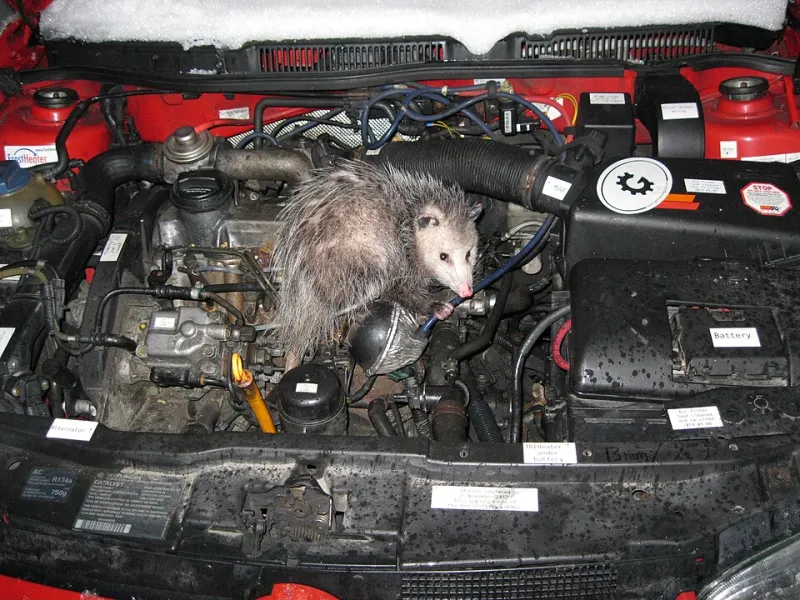
Photo: N3362, CC BY-SA 4.0, via Wikimedia Commons
When a wet-liner engine comes apart, most eyes go straight to the bores, the pistons and the head. The counterbore down at the bottom of the water jacket gets a quick wipe and is forgotten. That is a mistake. The seat is what the liner actually stands on, and it has a direct say in whether the rebuild stays dry or comes back on a recovery truck.
A wet liner does two jobs at once. It contains combustion, and it seals coolant at its lower end. The counterbore seat controls how high the liner sits, how squarely it sits and how much crush the seal gets. Get a few thou wrong at the bottom of the bore and you can end up with a coolant weep, a failed head gasket or a strip-down you did not budget for.
The seat is part of the sealing system
On a wet-liner engine, the liner is not just pressed into a hole. It lands on a machined ledge, and the seal sits in a groove below that ledge. The seat therefore sets liner protrusion above the deck, which in turn affects head gasket crush. It also sets how evenly the liner presses on its seal.
If the seat is pitted, burred or covered in old sealant, the liner cannot sit flat. It may rock slightly, or it may hold one side proud and the other low. The seal then gets uneven crush. Sometimes it leaks straight away. Sometimes it waits until the engine has done a few heat cycles and the coolant has found its way past.
That is why the counterbore should be treated as a precision surface, not a scraped-clean afterthought.
What you are actually removing
Old wet-liner seats collect a mixture of things: hardened O-ring remains, dried sealant, rust scale, coolant staining, carbon that has migrated down, and sometimes a light ridge where the old liner sat. None of that belongs under a new liner.
Start with hand tools before you reach for anything aggressive. A carbide scraper, a nylon brush and a suitable workshop solvent will shift most of the debris. Brake cleaner or paraffin followed by a lint-free cloth is fine, but keep the cleaning method controlled. A wire wheel in a grinder can round off the edge of the counterbore or polish a low spot until it looks better than it is.
Pay attention to the corner where the seat meets the wall. That radius matters. Do not dig it out with a sharp scraper in an attempt to remove every last stain. Staining is not the same as pitting, and a clean seat with a little colour is better than a butchered one.
Inspection under proper light
Once the loose muck is gone, dry the seat and look at it properly. A bright torch and a magnifier are more useful here than guesswork. You are checking for pitting, erosion, cracks, previous machining marks, burrs and anything that looks like a high spot.
Run a straightedge across the seat and try a thin feeler gauge underneath. It will not give you a full surface map, but it will tell you if the seat is obviously dished or tilted. Check the counterbore wall for scoring and the top edge for burrs that could hold the liner off its seat.
Also check the block deck and the liner flange area. A seat that looks fine can still produce bad protrusion if the deck has been skimmed badly or the liner flange is damaged. The whole stack has to be considered.
Measuring depth and protrusion
This is where a lot of DIY rebuilds come unstuck. The counterbore needs to be measured, not judged by eye. Use a depth micrometer or a dial gauge on a magnetic stand, and take readings at four points around the seat. Compare them with the manufacturer’s specification and with each other.
A seat that varies in depth around its circumference will tilt the liner. Even a small variation can change seal crush. In practical terms, you are looking for a seat that is flat, clean and at the correct depth, with a liner that sits at the specified protrusion.
Dry-fit the liner without its seals and check protrusion at four points. Do not torque the head down at this stage. You are checking the seat, not building the engine. If the liner rocks or the protrusion numbers are all over the place, stop and investigate before any seal goes near it.
Cut or dress?
Light localised burrs, old sealant and minor staining can usually be dressed by hand with a scraper and a fine stone. That is careful correction, not a machining operation. The aim is to restore the original surface, not to remove metal until the damage disappears.
If the seat is pitted, eroded or out of depth, it needs cutting. That means a proper counterbore cutter, a rigid setup and a machinist who understands how the block is referenced. A hand-held die grinder is not a counterbore tool. It is a quick way to make a bad seat worse.
After any cutting, clean the seat again and repeat the measurements. Check protrusion with a dry liner. If the seat has been cut too deep, you have a problem. Some engines offer selective shims or different liner grades; many do not. Better to find out before the engine is back in the car.
The last five minutes matter
Before the new liners go in, give the counterbores a final clean with solvent and dry them with compressed air. Check that no debris has fallen into the coolant passages. Keep the seal surfaces free from oil or grease unless the manual specifically calls for a lubricant. Fit the liners according to the manufacturer’s procedure, with the correct seals and the correct lubricant.
It is boring work, but it is the kind of boring work that keeps a wet-liner rebuild dry. The seat is out of sight once the liner is home, so it is worth spending an extra half hour on it now. A few thousandths at the bottom of the bore can save you a head gasket, a coolant leak and a second strip-down later.